The Process of Professional Home Window Tinting Explained
From picking the right film kind to the meticulous prep work of home windows, each action plays a crucial role in accomplishing a remarkable application. Complying with these preliminary preparations, the careful cutting and application of the film demand accuracy to stay clear of imperfections.
Choosing the Right Home Window Movie
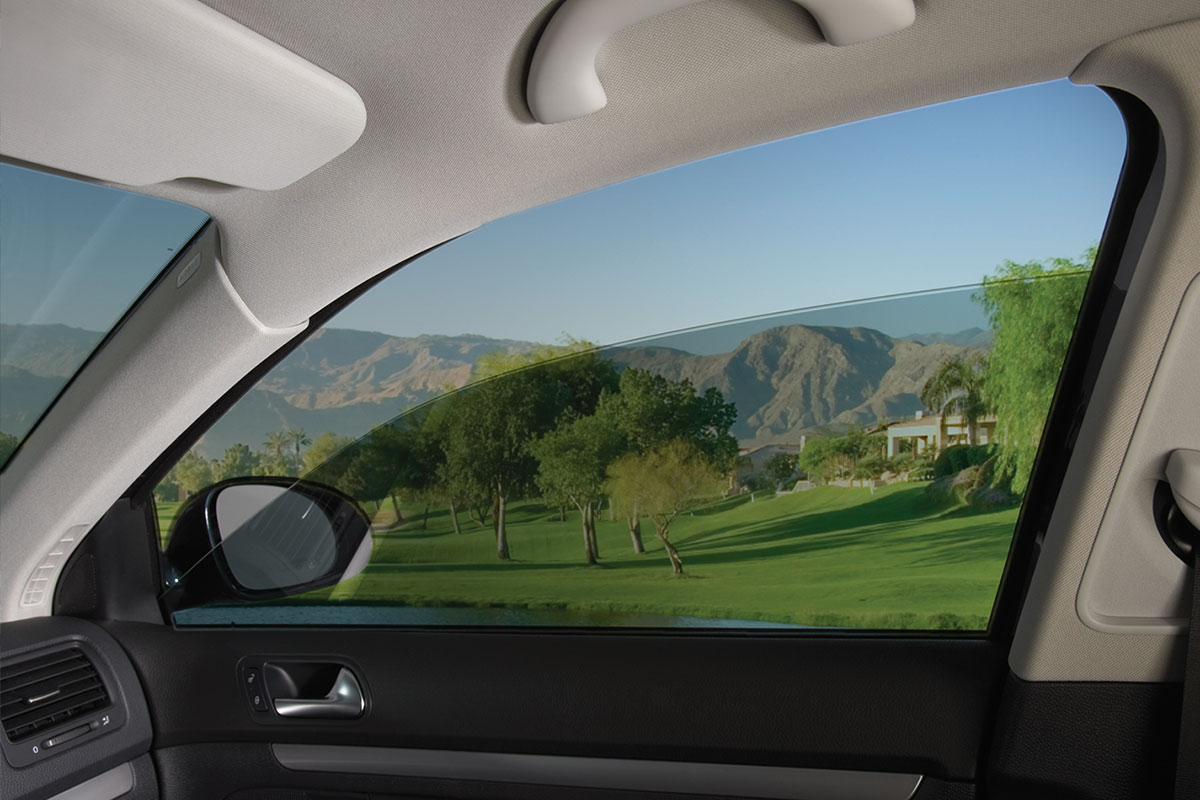
The preliminary consideration is the kind of film, which can range from colored, metalized, to ceramic films (window tinting). Dyed movies mostly supply privacy and visual enhancement, while metalized movies mirror warm and UV rays, boosting energy performance.
Next, consider the movie's Visible Light Transmission (VLT) percentage, which establishes just how much light goes into the room. A reduced VLT supplies higher personal privacy and warmth being rejected but might lower natural light considerably. In addition, the film's solar heat gain coefficient (SHGC) is critical; a lower SHGC suggests much better thermal efficiency, assisting to preserve indoor comfort.
Preparing the Windows
When the suitable home window movie has been chosen, the next action is extensively preparing the windows for installation. This preparation is critical for accomplishing ideal adhesion and making sure a flawless appearance post-installation.
The initial job entails cleansing the home windows meticulously (window tinting). A top quality glass cleaner is vital, preferably one that is ammonia-free to avoid destructive any window seals or color products. Using a lint-free cloth or paper towels, service technicians need to eliminate any kind of dirt, dust, or oil, paying unique interest to the sides and edges where particles frequently accumulates
Reducing the Movie
A specific strategy to reducing the movie is crucial for making sure a best fit on the prepared windows. This step calls for both skill and attention to detail, as inaccuracies can lead to unsightly gaps or overlaps that compromise the visual and useful high qualities of the color.
Prior to reducing, the expert should gauge the window dimensions properly, accounting for any kind of distinct shapes or shapes. It is recommended to make use of top quality home window movie, as this product has a tendency to be more forgiving during the reducing process. The film is normally laid level on a clean, smooth surface area, and a sharp energy blade is utilized to make sure clean edges.
To attain optimal results, many professionals use layouts developed from previous installations or use software program to create specific patterns. An usual technique involves including an added margin to the template, enabling changes during the application phase.
Moreover, reducing the film in a regulated environment decreases the threat of pollutants impacting the adhesive side. By sticking to these meticulous techniques, home window tinting specialists can ensure that the film not only fits effortlessly yet likewise does successfully in time, boosting both look and performance.
Applying the Tint
After thoroughly cutting the movie to the right dimensions, the next step entails applying the color to the home window surface area. This process starts with guaranteeing that the home window is clean and complimentary from any type of dirt, particles, or residues that can affect bond. A specific cleansing option is typically made use of, followed by detailed drying out with a see this here lint-free cloth.
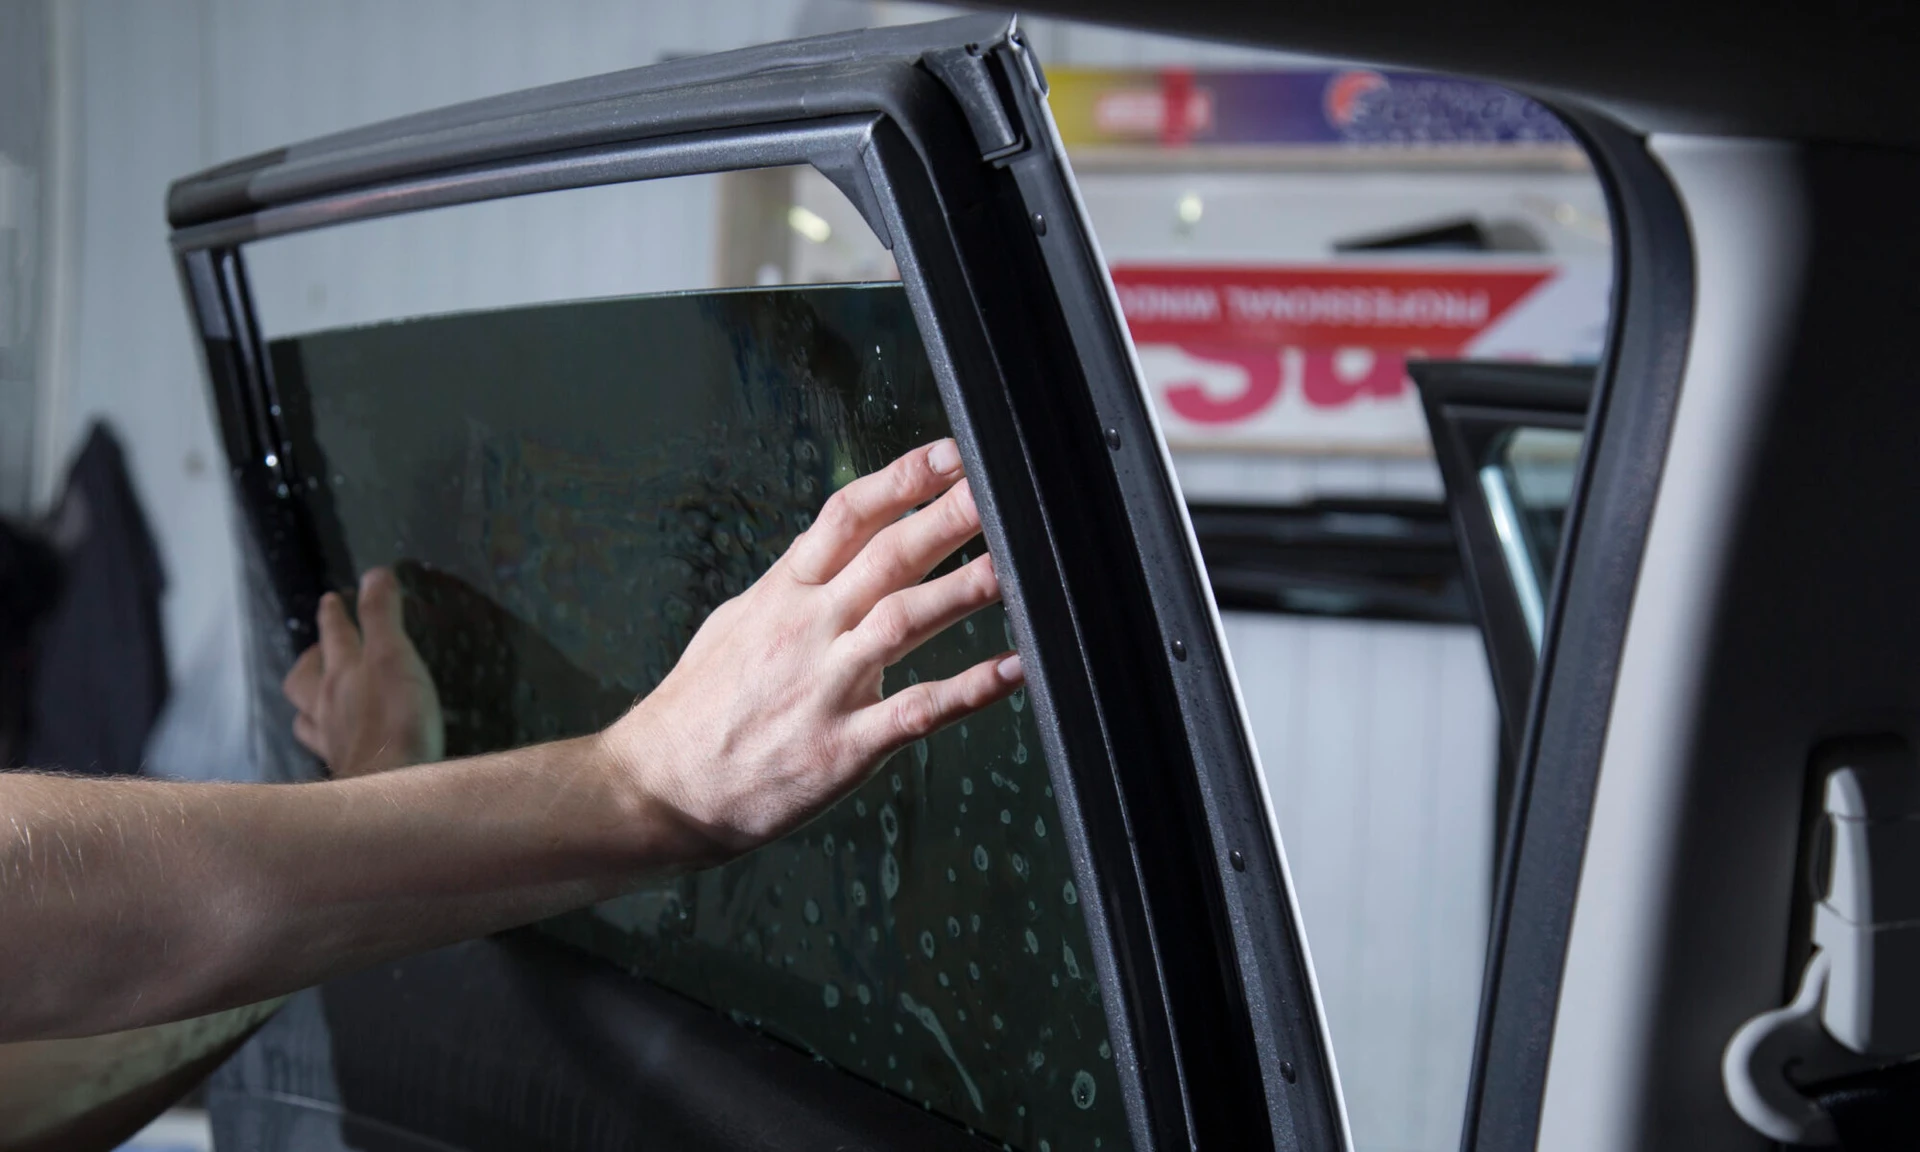
Once the surface is prepared, the installer will thoroughly position the color movie against the glass. It is essential to align the movie properly to avoid misplacement, as any type of errors can result in a less than professional look. To promote this, the installer may use a light mist of application option on the glue side of the movie, allowing for slight repositioning if needed.
Utilizing a squeegee, the installer will then begin to push the film onto the glass, working from the facility outwards to you can check here eliminate air bubbles and make sure a firm bond. This technique is crucial, as it assures a smooth and flawless finish. Throughout the application, focus to information is essential to stop creases or blemishes, guaranteeing that the color not only boosts appearances yet additionally offers the desired capability.
Last Evaluation and Care
The last assessment is an essential action in the home window tinting procedure, guaranteeing that the installation satisfies both visual and functional criteria. During this phase, professionals carefully take a look at the mounted tint for any type of flaws, such as bubbles, folds, or imbalances. A thorough examination likewise includes checking the adherence of the movie to the glass, as well as its harmony and general appearance.
After the assessment, proper care and maintenance guidelines are provided to the client. It is vital to inform them about the suggested timeline for cleaning up the tinted home windows, commonly advising a delay of at the very least 1 month after installation to allow the sticky to heal completely. Customers need to be informed on suitable cleansing items and strategies, highlighting the evasion of ammonia-based cleaners that can damage the color.
In addition, specialists should recommend customers on the importance of normal maintenance to lengthen the life of the color. This consists of periodic checks for indications of wear or damages and reacting promptly to any type of problems. By ensuring a detailed final evaluation and offering clear treatment guidelines, home window tinting experts enhance client look at this now contentment and the long life of their job.
Final Thought
The professional window tinting procedure encompasses a number of essential steps that guarantee premium results. Selecting the appropriate movie kind, preparing the home windows carefully, accurately reducing the film, and applying it with precision are necessary for attaining a flawless surface.
Comments on “Why Window Tinting is Essential for Shielding Your Auto's Inside”